Foretrækker du opskriften på Dansk? Den har du her.
Preparation: 10 + 5 min. Proofing: 30 min. Baking: 45-50 min. Portions: 18.
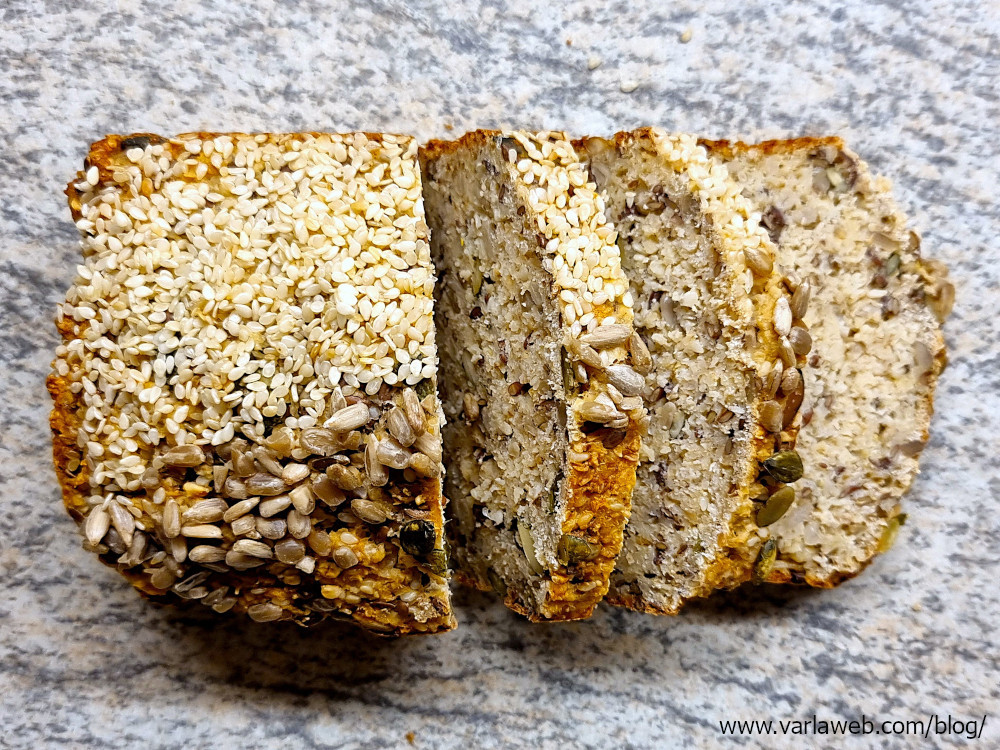
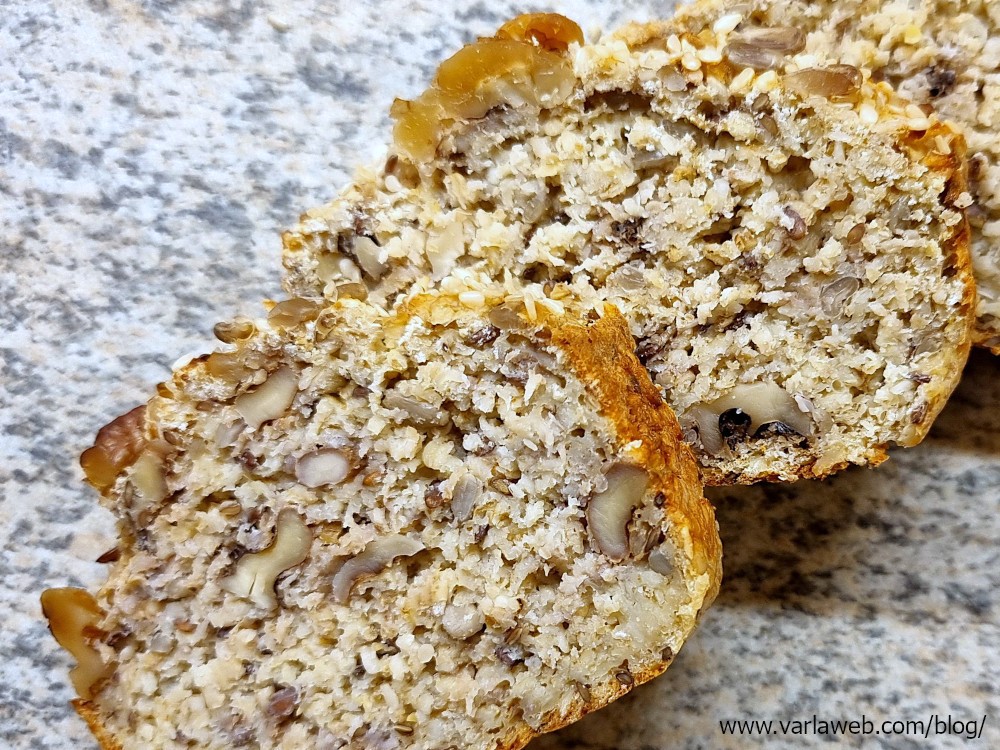
This bread is savoury, moist, with substantial texture and a thin crust, and can be sliced thinly. It can be made entirely gluten-free and is rich in fibre, D vitamin, iron, and protein. A slice contains roughly 70 calories. If stored properly, it will keep for at least four days. It goes well with Brie or savoury spreads, such as paté, or on the side with a salad.
I have included both a quick set of instructions, and a detailed set of instructions, with pictures.
Utensils
You will need two bowls, a large, flexible spatula or flat spoon, a whisk, and a bread tin that is 10 cm wide and at least 18 cm long. You will also need a sheet of quality greased baking paper, a blender, and measuring equipment.
Ingredients
- 1 Egg
- 1 Egg white
- 25 ml Lemon juice (roughly half a lemon)
- 1 dl Plain low-fat yoghurt (this can be plant-based)
- 1 dl Low-fat Greek yoghurt (Greek “inspired” will do, but it needs to be thick)
- 75 gr Rolled oats
- 75 gr Rolled oats, finely chopped
- 1 tbsp Flaxseeds, finely ground
- 1 tsp Baking powder
- ½ tsp Baking soda
- ½–1 tsp Salt
- Seed mix or walnut mix (see lower down)
- Optional Additional oats, seeds or nuts for garnishing
Walnut mix
- 30 gr Walnuts, lightly chopped
- 20 gr Sunflower seeds
- 20 gr Sesame seeds
- 2 tbsp Flaxseeds
Savoury Seed Mix
- 30 gr Flaxseeds
- 20 gr Sunflower seeds
- 20 gr Sesame seeds
- 2-4 tbsp Pumpkin Seeds
Flaxseeds are quite salty. I don’t recommend more than ½ tsp salt along with this mix.
Ingredients, notes
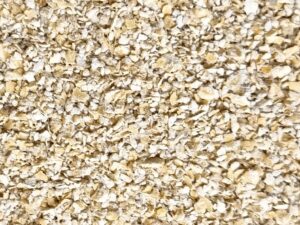
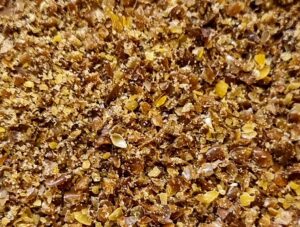
Flaxseeds and oats can be ground in blender. A small chopper will do. If you have a high-powered blender, use pulse function on the oats, as they will quickly turn to flour, and we don’t want that.
The texture of the chopped oats and ground flaxseeds should look something like this:
Instructions, quick
- Add all the dry ingredients to a bowl. Mix well.
- In a second bowl, add all the wet ingredients, one at a time, and whisk after adding each ingredient.
- Gradually add the dry mix to the wet mix, gently folding them together.
- Proof for half an hour under a cloth somewhere coolish. Preheat oven at 180 C (fan), 200 C or 6 (gas).
- Line the baking tin with baking paper. Gently distribute the dough with as little pressure as possible. If your tin is longer than 20 cm, shape the bread to the appropriate length. Sprinkle the surface with water, and smooth it out with a spatula. Garnish with seeds, oats or nuts.
- You have two baking options:
- For a firm, thinly sliceable bread, bake for 45-50 min. Place an bowl of water in the oven for the first 20-30 min, or until the bread has firmed up, then remove the bowl.
- For a more spongy version, skip the bowl and bake for 45-55 min.
- Lift the bread out of the tin immediately after baking. If the crust tears when you peel off the baking paper, it needs five more minutes in the oven.
- Once the loaf is quite cool, store in a bread bin or under a cloth.
Instructions, detailed
- Add seed or walnut mix, ground flaxseeds, baking powder, baking soda, salt, and all of the oats to a bowl. Mix well, so that the leavening agents are evenly distributed.
- In a second bowl, add egg, egg white, lemon juice, and yoghurt, one at a time, and whisk after adding each ingredient.
- Gradually add the dry mix to the wet mix, gently folding them together. Don’t over-mix. Your mixture should look and feel like thick porridge.
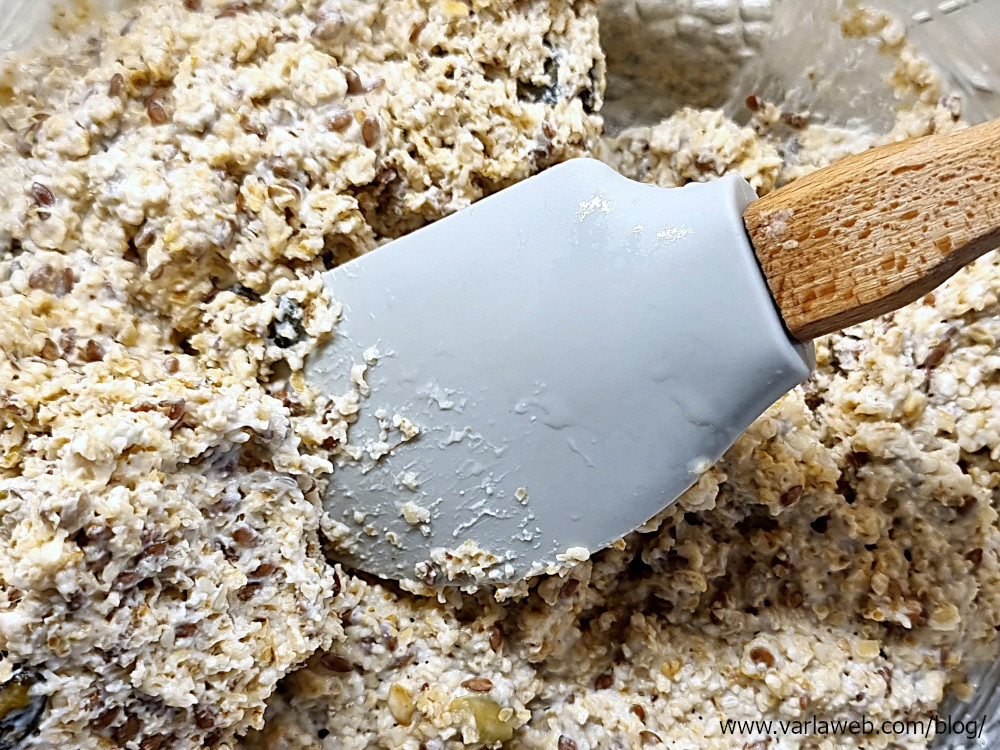
- Leave the mixture to proof for half an hour under a cloth somewhere coolish. Preheat your oven to baking temperature 180 C (fan), 200 C, or 6 (gas) while you wait. After proofing, your mixture should’ve increased in volume and acquired a fluffy, denser texture that can be moulded and shaped.
If your dough isn’t rising, leave for longer time, and/or in a cooler environment, but preferably not in the fridge. External humidity and temperature are a factor. I live in a very humid region, and in the summer I often find that my oat loaf needs to proof 15 or even 30 minutes longer. Also, the walnut version of the bread enjoys a longer proofing as it is less dense.
- Line the baking tin with baking paper. Gently scoop the dough into the tin, distributing it with as little pressure as possible. Be sure to get into the corners for a neatly formed bread. If your tin is longer than 20 cm, simply shape the bread to the appropriate length; the dough won’t run during baking. Sprinkle the surface with water, and smooth it out with a spatula. You can accentuate the middle a little, to give it that loaf shape, and garnish with seeds, oats or nuts.
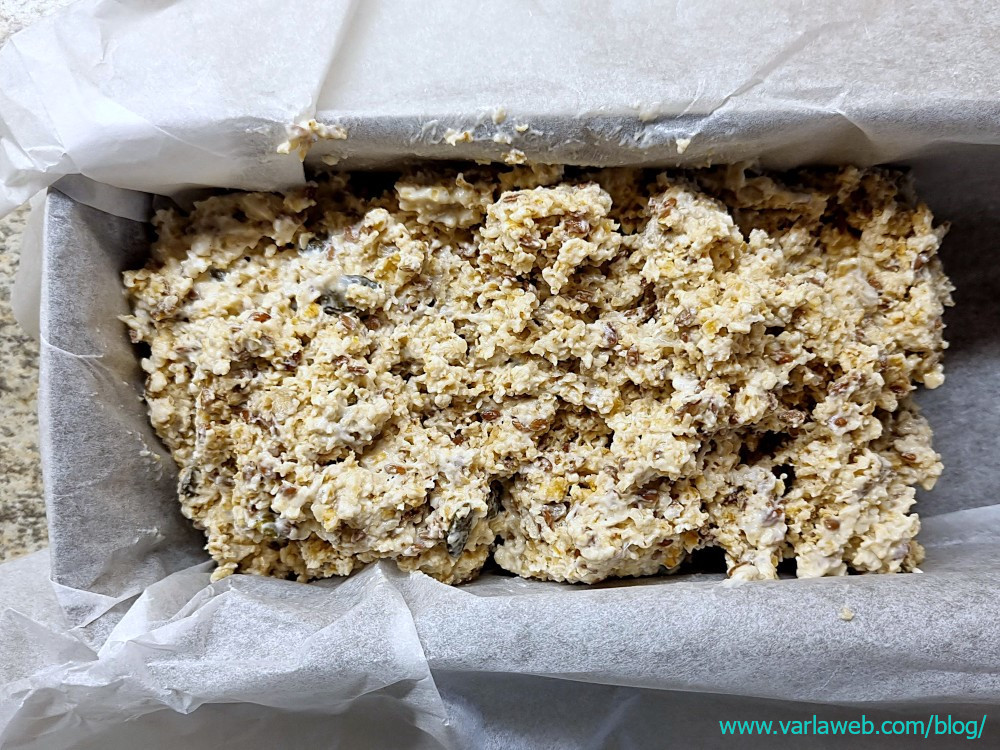
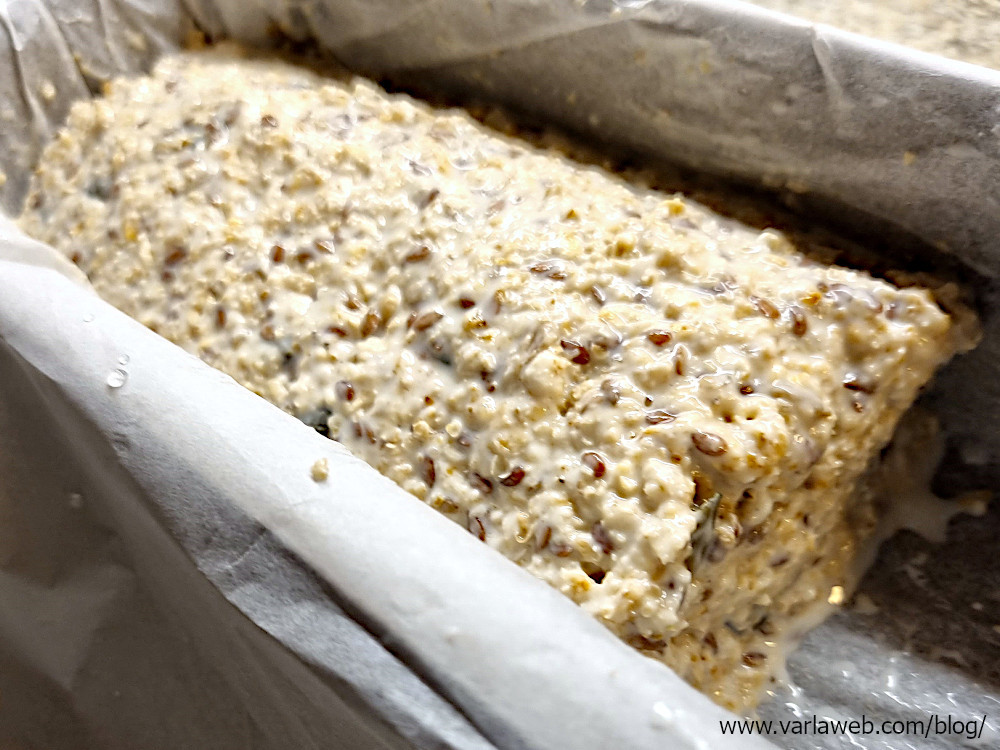
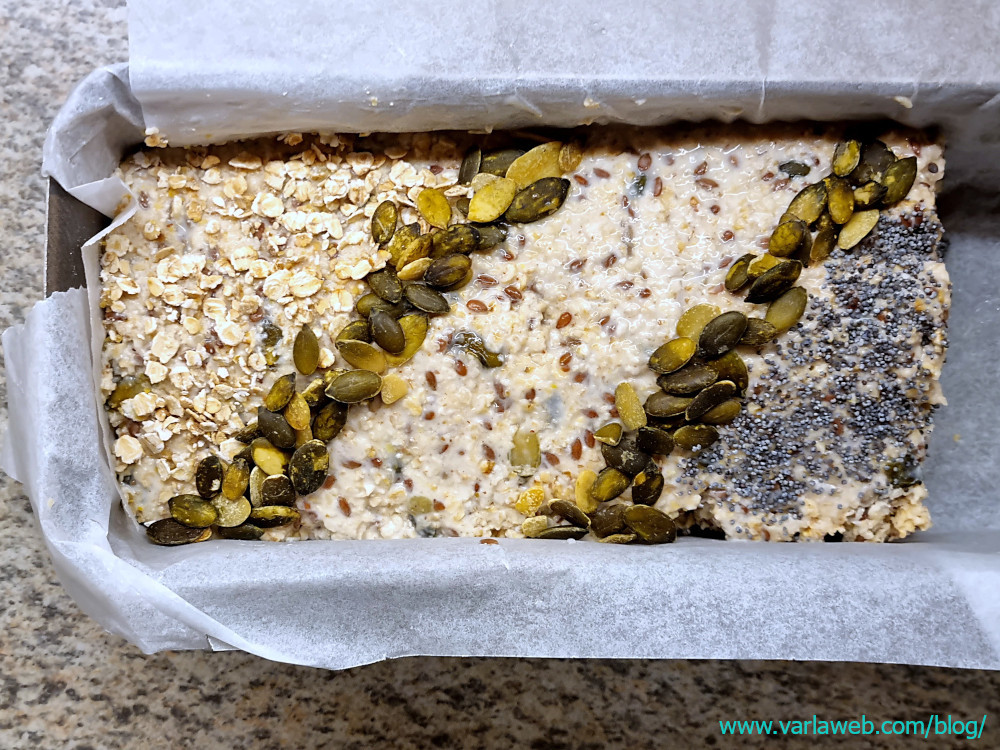
If your dough seems very dry after proofing, add one or two extra tablespoons of water to the surface. If you used a plant-based yoghurt, the dough will often be more dry.
- You have two baking options:
- For a firm, thinly sliceable bread, bake for 45-50 min. Place an ovenproof bowl with some water in the oven for the first 20-30 min, or until the bread has firmed up, then remove the bowl. The walnut version of the bread tends to need longer than the seed version to set.
- For a more spongy version, skip the bowl and simply bake for 45-55 min.
- Lift the bread out of the tin immediately after baking. The bread should be firm, with a springy feel to it, and have developed a thin, hard crust with a ruddy colouring. If the crust tears when you peel off the baking paper, it needs five more minutes in the oven. If not, let the bread breathe on a cooling rack.
- Once the loaf is quite cool, store in a bread bin or under a cloth. You can store in an air-tight container, but that will soften the crust. Place somewhere coolish for maximum shelf life. It can be stored in the fridge, but I don’t recommend it, as this brings out the acidic flavours.
If your bread feels under-baked, remember that this is a moist bread. If you cut into it while it is still warm, it will be gooey. Cooling will adjust this. The ultimate test is, once it has cooled, does it slice neatly, and if you break a slice in half, does it tear like bread should?
Check out www.varlaweb.com/blog/oat-loaf/ for ideas on how to garnish your bread.
Happy baking 🙂

